20 Years of Proven Performance

20 Years of Proven Performance

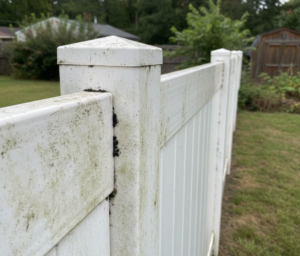
Black marks on a white vinyl fence can quickly steal attention from an otherwise clean, well-kept yard. Whether they’re caused by lawn mower tires, rubber shoes, outdoor equipment, or unexplained scuffs, these dark streaks can make your fence look worn long before its time.
The good news? Most black marks on vinyl fencing aren’t permanent, and you don’t need harsh chemicals or expensive tools to remove them. With the right techniques and a few common household items, you can safely restore your fence’s bright, like-new appearance.
Below, we’ll walk through the most effective ways to remove stubborn black marks from a vinyl fence without scratching, discoloring, or damaging the surface.
Before you start scrubbing, it helps to understand what you’re dealing with. Black marks on vinyl fencing are usually surface-level stains caused by everyday outdoor activity, not damage to the fence itself.
The most common causes include:
The good news is that vinyl fencing is non-porous, meaning these black marks don’t penetrate the material. They sit on the surface, making them removable with the right cleaning method and a little patience.
Most black marks respond to this straightforward method:
What you’ll need:
The process:
This method works for about 70% of black marks on vinyl fencing. For the stubborn ones that remain, move to the next level.
When soap and water aren’t enough, these methods tackle rubber transfer marks specifically:
Spray WD-40 directly on the rubber mark, let it sit for 30-60 seconds, then wipe with a clean cloth. The petroleum distillates in WD-40 break down rubber compounds without harming vinyl. Rinse the area with soap and water afterward to remove any residue.
Melamine foam cleaners (like Mr. Clean Magic Eraser) work through micro-abrasion, essentially very fine sandpaper. Wet the eraser, squeeze out excess water, and gently rub the black mark. This method is effective, but use light pressure. Aggressive scrubbing can dull the vinyl’s finish or remove the protective UV layer over time.
Mix baking soda with just enough water to create a paste. Apply it to the stain, let it sit for 5 minutes, then scrub gently with a soft brush. The mild abrasive action lifts marks without scratching. Rinse thoroughly.
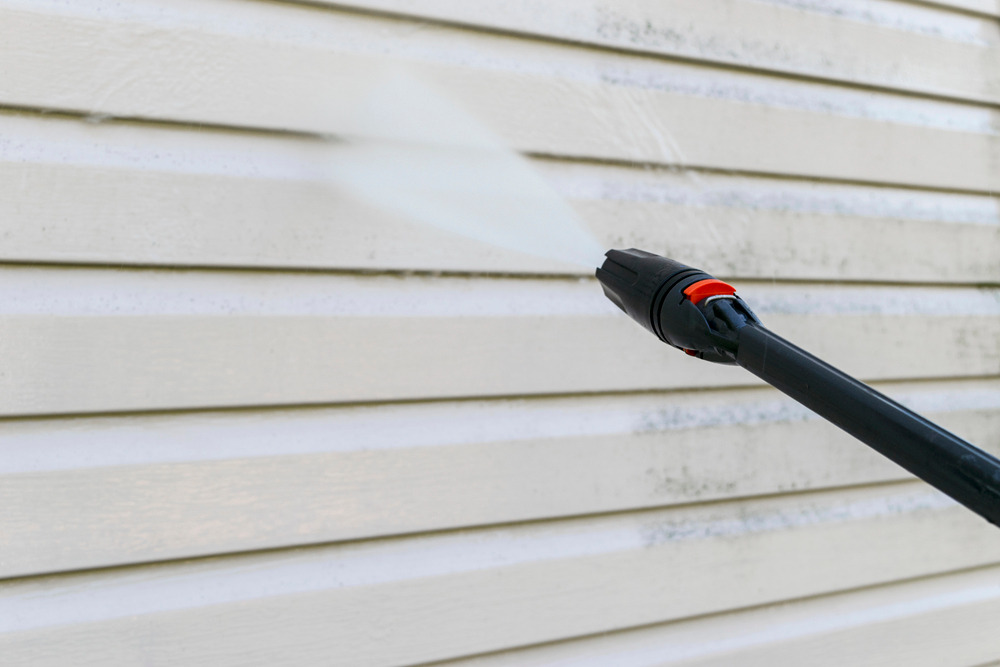
Pressure washers remove black marks quickly, but they require caution with vinyl fencing. Keep the pressure below 1,500 PSI and maintain at least 12 inches distance from the fence surface. Use a 25-degree or 40-degree nozzle, never a zero-degree tip, which can damage vinyl by forcing water behind panels or creating surface gouges.
Start with the lowest pressure setting and increase only if needed. For most black marks, you won’t need maximum pressure anyway.
Even with the right intentions, certain cleaning mistakes can permanently damage vinyl fencing or make stains harder to remove. Avoid these common pitfalls:
Straight bleach can yellow white vinyl and weaken the material over time. If bleach is necessary, always dilute it to a 1:10 ratio (1 part bleach to 10 parts water) and rinse thoroughly immediately after cleaning.
Steel wool, scouring pads, and stiff-bristle brushes can scratch vinyl surfaces. These scratches create texture that traps dirt, leading to faster re-staining. Stick to soft brushes, microfiber cloths, or non-abrasive sponges.
Cleaning solutions left to dry can leave streaks, residue, or discoloration. Always rinse the fence with clean water before the product dries.
Products like acetone, paint thinner, or other solvent-based cleaners may remove tough stains, but they can also soften, discolor, or damage certain vinyl formulations. Always test in a small, inconspicuous area before applying widely.
When it comes to vinyl fencing, prevention is far easier than removal. A few simple maintenance habits can keep black marks from forming in the first place:
Leave at least 6 inches of clearance between your fence and high-traffic areas used by lawn mowers, wheelbarrows, bikes, or vehicles. This small gap prevents most rubber transfer and scuff marks.
Wash your vinyl fence twice a year using a garden hose and mild dish soap. Routine cleaning removes dirt and residue before it builds up and makes stains harder to remove later.
Plants and grass resting against vinyl can trap moisture, creating the perfect environment for mildew and algae to form. Keeping vegetation trimmed helps prevent black or green staining along the fence line.
Rubber or foam bumpers on frequently used equipment such as lawn mowers, wheelbarrows, or carts reduce direct contact and minimize the risk of scuffs and transfer marks.
If you’ve tried multiple cleaning methods and the black marks still won’t budge, the issue may be permanent staining rather than surface residue. In these cases, the discoloration isn’t sitting on the vinyl; it’s coming from changes within the material itself.
This typically happens when:
Prolonged exposure to sunlight can break down lower-quality vinyl, allowing dirt and contaminants to penetrate below the surface where cleaning can’t reach.
Certain substances, such as petroleum products, fertilizers, or harsh cleaners, can react with the vinyl polymer and cause discoloration that cannot be reversed.
Chalking occurs when the protective outer layer deteriorates and leaves a powdery residue. In these cases, the “black mark” may actually be the underlying base material becoming visible through the worn surface.
Standard PVC or polyethylene vinyl fencing can be especially vulnerable in high-heat environments. When temperatures repeatedly exceed the material’s heat distortion threshold (often below 160°F for lower-grade vinyl), surface integrity weakens, and permanent discoloration becomes more likely, particularly on darker-colored fences.
At this point, cleaning alone won’t restore the fence’s appearance, and replacement or resurfacing may be the only long-term solution.
Not all vinyl fencing cleans the same. The quality of the material determines how easily black marks form and whether they can be removed at all.
Higher-quality vinyl includes proper UV inhibitors and stabilizers that protect the surface from breakdown. When the surface stays intact, marks remain on the exterior where they can be cleaned instead of penetrating the material.
Premium vinyl and CPVC formulations with higher heat resistance (above 200°F) hold up better in hot conditions and are far less prone to permanent staining. If marks won’t come off despite proper cleaning, it may be a sign the fence material has degraded or wasn’t built for long-term durability.
Most black marks on vinyl fencing can be removed with simple soap, water, and a little effort. For tougher rubber and tire scuffs, targeted solutions like WD-40, magic erasers, or baking soda paste usually restore a clean finish.
The real takeaway? Act quickly, start gently, and stay consistent. Regular maintenance prevents marks from becoming permanent problems.
At BlacklineHHP, our proprietary CPVC formulation resists the chalking and surface degradation that makes ordinary vinyl harder to clean over time. Stains sit on the surface rather than bonding into degraded material, making cleanup easier and less frequent.
Contact us and get a quote to discuss maintenance strategies or replacement solutions that stay cleaner longer. With 18 years of proven performance, our fencing delivers low-maintenance beauty that lets you enjoy your outdoor space instead of scrubbing it.
A cleaner fence starts with the right materials.
Start with dish soap and warm water using a soft brush or sponge. For stubborn tire or rubber marks, lightly use WD-40, a magic eraser, or a baking soda paste, then rinse thoroughly with clean water.
Black marks are usually rubber transfer, scuff marks, or environmental buildup like mildew, algae, or airborne pollutants. These stains sit on the surface of vinyl and are typically removable with proper cleaning.
Yes, but use gently. Magic erasers work by micro-abrasion, so light pressure is key. Overuse or aggressive scrubbing can dull the vinyl’s finish or reduce its UV-protective layer.
Begin with soap and water. If marks remain, try baking soda paste or WD-40 for rubber scuffs. Avoid abrasive tools and harsh solvents, and always rinse before cleaners dry on the surface.
Always start with the least aggressive method, work in small sections, and use soft brushes or non-abrasive sponges. Avoid steel wool, stiff brushes, and undiluted bleach, which can permanently damage vinyl.